
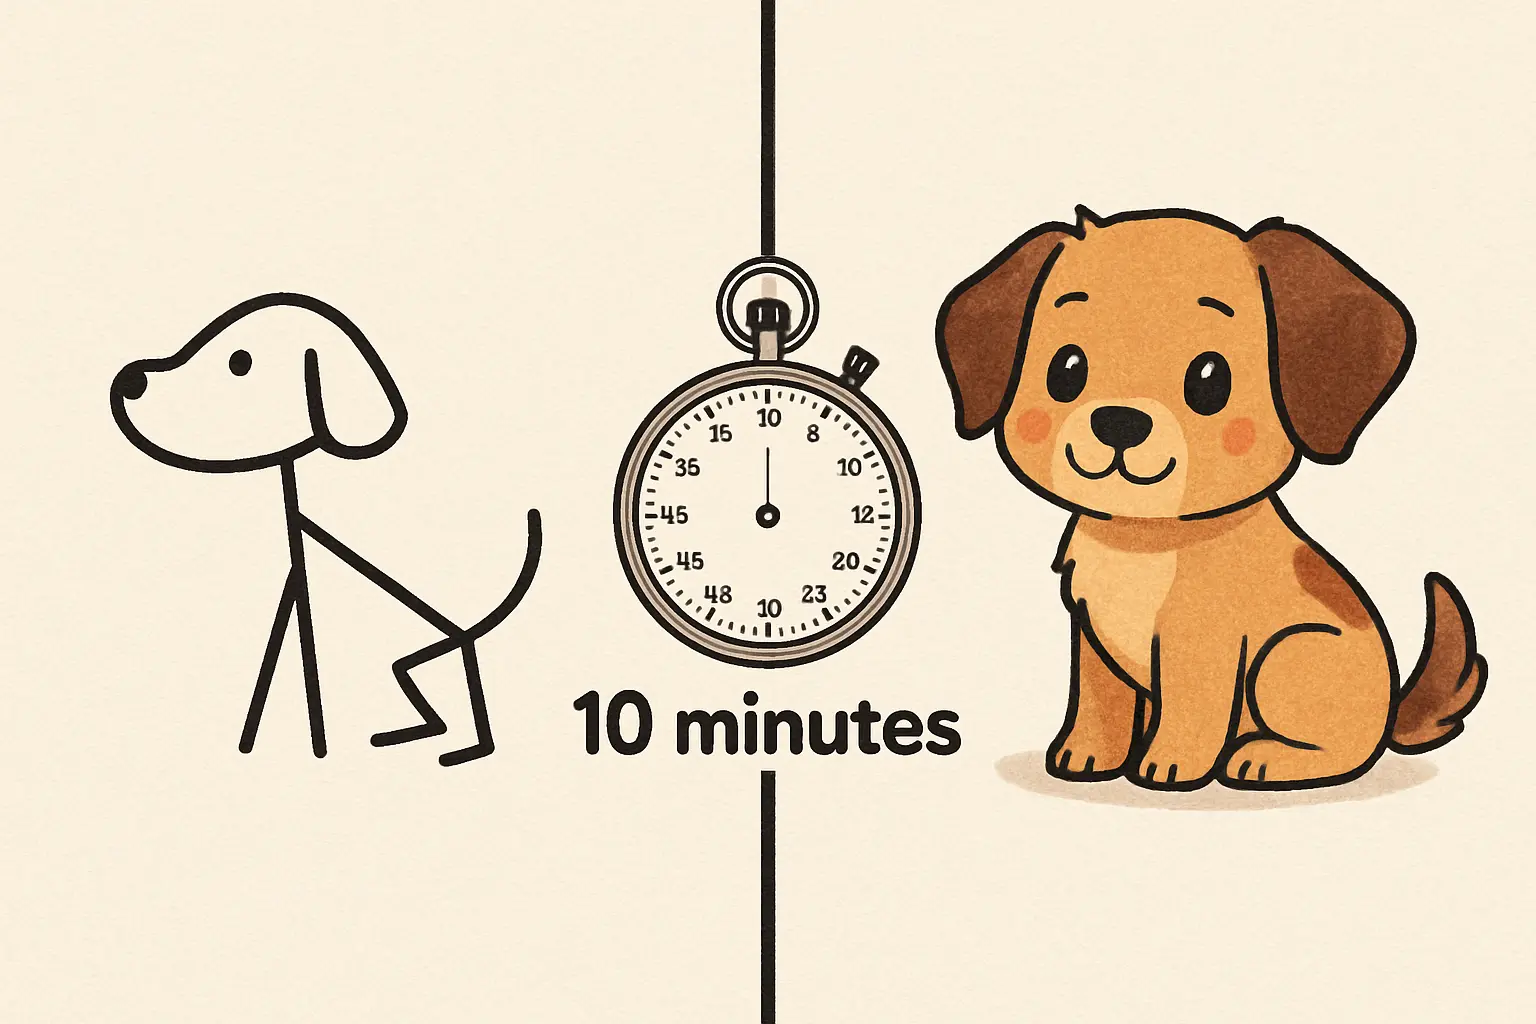
Drawing a dog might seem challenging, but with the right approach, anyone can create an adorable canine companion on paper in 10 minutes! This easy how to draw a dog tutorial breaks down the process into simple, manageable steps that even beginners can follow. Whether you’re sketching for fun, teaching kids, or just discovering your artistic side, you’ll be amazed at how quickly you can transform basic shapes into a charming dog drawing.

The secret to the Easy Dog Drawing Tutorial lies in understanding that every complex illustration starts with fundamental shapes. By mastering this systematic approach, you’ll discover that creating lovable pups is not only possible but incredibly rewarding. This tutorial focuses on building confidence through achievable steps, ensuring your success from the very first attempt.
table of contents
Materials You’ll Need: Easy Dog Drawing Tutorial
Before we begin our easy dog drawing adventure, gather these basic supplies that make the difference between frustration and success.

Essential Materials:
- Smooth drawing paper (copy paper works perfectly)
- A well-sharpened pencil (HB or #2 pencil)
- A clean, soft eraser
- A ruler (optional, for guidelines)
Optional Enhancement Materials:
- Mechanical pencil for fine details
- Blending tissue for smooth shading
- Colored pencils or markers for finishing touches
- Fine-tip pen for bold outlines
The beauty of learning how to draw a dog lies in its simplicity – you don’t need expensive art supplies to create something wonderful. Most people already have these materials at home, making this tutorial accessible to everyone. The key is using materials that feel comfortable in your hands and allow you to focus on technique rather than fighting with your tools.
The Complete 10-Minute Dog Drawing Method

Minutes 1-2: Foundation Building
Start your easy dog drawing by establishing the fundamental structure. Think of this phase as creating the skeleton that will support your entire drawing.
Step 1: Create the Head Construction. Draw a circle roughly the size of a tennis ball in the upper portion of your paper, leaving room below for the body. This circle represents the skull area and doesn’t need to be geometrically perfect – natural variation makes drawings more appealing.
Next, add a smaller oval shape overlapping the bottom of the circle by about one-third. This will become the dog’s muzzle and should be approximately half the size of the head circle. Position it slightly to one side for a more natural, three-dimensional look.
Step 2: Establish the Body Framework. Below your head construction, draw a larger oval for the body. This body oval should be about 1.5 times the size of the head circle and positioned with a small gap between the head and body – this space will become the neck area. For a sitting dog pose, angle the body oval slightly with the bottom tilted toward the back for a natural, relaxed posture.
Pro Tip: Keep your initial lines light throughout this easy how to draw a dog process – you’ll be refining them as we progress.
Minutes 3-4: Structural Development
Transform your basic shapes into a recognizable dog form by adding essential structural elements that bring your drawing to life.
Step 3: Construct the Legs. Drawing dog legs becomes simple when you think of them as basic geometric shapes:
Front Legs: Draw two rectangular shapes extending down from the front of the bod,y oval. These should be parallel, about as wide as your thumb, and slightly narrower at the bottom than at the top. The front legs should reach about halfway down your paper.
Back Legs: For the sitting position, create curved shapes that suggest folded legs. The back legs will be shorter and more compact than the front legs, with the upper portion wider than the lower portion to show the natural bend at the knee area.
Paws: Add small oval shapes at the bottom of each leg for paws, making them slightly wider than the legs themselves.
Step 4: Add Connecting Elements. Connect the head to the body with gentle, curved neck lines that flow naturally. Avoid sharp angles or awkward transitions – real dogs have smooth, organic connections between body parts.
Minutes 5-6: Feature Definition and Personality
This phase brings your dog to life by adding the features that create recognition and character.
Step 5: Define the Facial Features Eyes: Draw two circles in the upper portion of the head, evenly spaced with about one eye-width between them. Add smaller circles inside for pupils, leaving a tiny white space in each pupil for that lively, alert expression that makes dogs so endearing.
Nose: In the center of the muzzle oval, draw a small triangle or heart shape for the nose. This is a key feature that makes your dog drawing instantly recognizable as a canine.
Mouth: From the bottom of the nose, draw a short vertical line down, then add gentle smile curves on each side. Dogs always look friendlier with a subtle smile!
Step 6: Add Ears and Tail Ears: Create floppy ears by drawing curved triangular shapes on either side of the head. Let them hang naturally for a friendly, approachable look. The ears should attach to the head and complement your dog’s overall personality.
Tail: Add a curved tail extending from the back of the oval body. A slightly curved, upward-pointing tail suggests a happy, alert dog – perfect for your first how to draw a dog attempt.
Minutes 7-8: Refinement and Integration
Transform your collection of shapes into a cohesive, charming dog drawing through careful refinement.
Step 7: Shape Integration and Smoothing
- Connect all major shapes with smooth, flowing lines
- Erase construction lines where they’re no longer needed
- Ensure the transition from head to neck to body flows naturally
- Add small details like toes on the paws (three small curves per paw work well)
Step 8: Add Texture and Dimension
- Suggest fur texture with short, light pencil strokes along the outline
- Focus on areas where fur would naturally appear fuller (chest, ears, tail)
- Add subtle shading under the head, body, and legs to create dimension
- Remember: a suggestion is more effective than trying to draw every detail
Minutes 9-10: Final Polish and Personality
The final phase transforms your drawing from good to great with attention to finishing touches.
Step 9: Strengthen and Define
- Go over your main outline with slightly more pressure for a confident, finished look
- Fine-tune your dog’s expression by adjusting eye shapes slightly
- Add character details like gentle curves above the eyes to suggest eyebrows
- Clean up any remaining construction lines
Step 10: Final Enhancement
- Add a few strategically placed whiskers if desired
- Strengthen the nose and mouth definition
- Ensure all proportions look natural and appealing
- Step back and admire your completed easy dog drawing!
Common Mistakes and How to Avoid Them
Learning how to draw a dog comes with typical beginner challenges. Here are the most common issues and their practical solutions:
Proportion Problems: New artists often make the head too large or too small compared to the body. Use the “thumb test” – hold your thumb at arm’s length to compare sizes. A dog’s head should be roughly one-fourth to one-third the size of the body for most breeds.
Facial Feature Placement: Eyes placed too low make dogs look sad or unnatural. Position eyes in the upper half of the head circle with proper spacing. Use light guidelines – draw a gentle vertical line down the center of the face and a horizontal line across the eye area to maintain symmetry.
Stiff Leg Positioning: Mechanical, perfectly straight legs make dogs look robotic. Add subtle curves and slight angles at joint areas for a natural appearance. Study how real dogs sit and notice the organic curves in their limbs.
Overwhelming Detail Too Early: Focus on getting basic shapes right before adding texture or complex features. A simple, well-proportioned drawing always beats a complex, poorly structured one.
Oversized Ears: While big ears are cute, oversized ears can overwhelm the face. Keep ears proportional to head size – they should enhance, not dominate, your dog’s expression.
Adding Personality and Creative Variations
Once you’ve mastered this basic, easy dog drawing technique, you can customize your creation to reflect different personalities and breeds:
Breed Characteristics:
- Adjust muzzle length: longer for Golden Retrievers, shorter for Bulldogs
- Modify ear shapes: pointed and upright for German Shepherds, long and droopy for Basset Hounds
- Change body proportions: compact for Pugs, lean for Greyhounds
Expression Changes:
- Alert dogs: wide, round eyes with upright ears and slightly open mouths
- Sleepy dogs: half-closed eyes with relaxed ear positions
- Playful dogs: tilted heads with tongues hanging out and bright, wide eyes
- Content dogs: slightly closed eyes with gentle smile curves
Age Variations:
- Puppies: make the head proportionally larger compared to the body
- Adult dogs: balanced proportions as shown in the tutorial
- Senior dogs: slightly drooped eyes and more relaxed postures
Simple Shading Techniques:
- Add depth with basic shading under major body parts
- Create texture suggestions with short, directional pencil strokes
- Use your finger or blending tissue to smooth harsh shadow edges
- Keep shading simple – a few well-placed shadows are more effective than complex rendering
Practice Tips and Skill Development
Congratulations on completing your first easy how to draw a dog tutorial! Here’s how to continue developing your artistic skills:
Daily Practice Strategy: Dedicate just 10-15 minutes daily to dog drawing practice. Consistency beats intensity – regular short sessions are more valuable than occasional long ones. Keep a small sketchbook specifically for dog drawings to track your progress and see improvement over time.
Reference Study Methods:
- Study photographs of dogs in various poses and lighting conditions
- Observe real dogs in parks, pet stores, or online videos
- Notice how different breeds have unique characteristics and proportions
- Pay attention to how expressions change with different emotions
Progressive Skill Building:
- Master sitting dogs before attempting standing poses
- Try different angles: front view, side view, three-quarter view
- Experiment with running dogs or dogs lying down
- Add simple environmental elements like toys, food bowls, or outdoor settings
Style Exploration: Use your basic how to draw a dog foundation to experiment with different artistic approaches:
- Cartoon styles with exaggerated features
- Realistic approaches with detailed shading
- Minimalist styles using just essential lines
- Abstract interpretations focusing on shape and form
Confidence Building:
- Share your drawings with friends and family for encouragement
- Join online drawing communities for feedback and inspiration
- Remember that every professional artist started with simple drawings
- Celebrate small improvements rather than comparing to expert work
Troubleshooting Advanced Challenges
As you progress in your easy dog drawing journey, you might encounter these additional challenges:
Dynamic Poses: When ready to move beyond sitting dogs, start with simple standing poses before attempting running or jumping positions. Use basic shapes as your foundation, regardless of pose complexity.
Different Angles: Drawing dogs from different viewpoints requires understanding basic three-dimensional form. Practice the sitting dog from various angles before moving to complex poses.
Breed-Specific Features: Each breed has distinctive characteristics. Study breed standards and photos to understand what makes each type unique, then adapt your basic template accordingly.
Environmental Integration: Adding backgrounds or objects requires understanding spatial relationships. Start simple with a single prop like a ball or food bowl before attempting complex scenes.
Conclusion and Your Artistic Journey
You’ve just completed a comprehensive easy how to draw a dog tutorial that transforms anyone from a hesitant sketcher into a confident canine artist. The 10-minute timeframe proves that impressive results don’t require work hours – just focused attention, a systematic approach, and regular practice.
Remember that this how to draw a dog method is your foundation for endless creative possibilities. Every professional artist started with simple drawings, and your first attempts are valuable learning experiences rather than final products. The key to mastering dog drawing lies in patient practice, celebrating small improvements, and maintaining the joy of creation.
Keep this tutorial accessible for reference, and don’t hesitate to repeat these steps until they become automatic. Soon, you’ll find yourself sketching dogs from memory, adapting the technique for different breeds and personalities, and inspiring others to discover their artistic abilities.
Most importantly, enjoy the process! Drawing should be a source of relaxation and satisfaction, not stress or frustration. Embrace the imperfections, celebrate the successes, and remember that every line you draw brings you one step closer to artistic confidence.
Your journey in learning how to draw a dog is just beginning, and with this solid foundation, the possibilities are truly endless. Whether you continue with more advanced dog drawings, explore other animals, or develop your unique style, you now have the fundamental skills and confidence to pursue any artistic direction that interests you.
Happy drawing, and remember – every adorable pup you create on paper brings more joy into the world!